For many fitness enthusiasts, the allure of a personalized home gym is undeniable. While commercial fitness equipment can be an investment, constructing one’s apparatus, such as a Pilates tower, often comes to mind. Venturing into such a project raises questions about practicality, safety, and feasibility.
Building a homemade Pilates tower apparatus is feasible. However, it requires careful planning, appropriate materials, and adherence to safety standards. DIY enthusiasts can achieve it with the right guidance, but ensuring its stability and functionality is crucial for safe workouts.
This article delves into the complexities and considerations of building a homemade Pilates tower, offering insights for those contemplating this DIY challenge.
Understanding the Core Components of a Pilates Tower
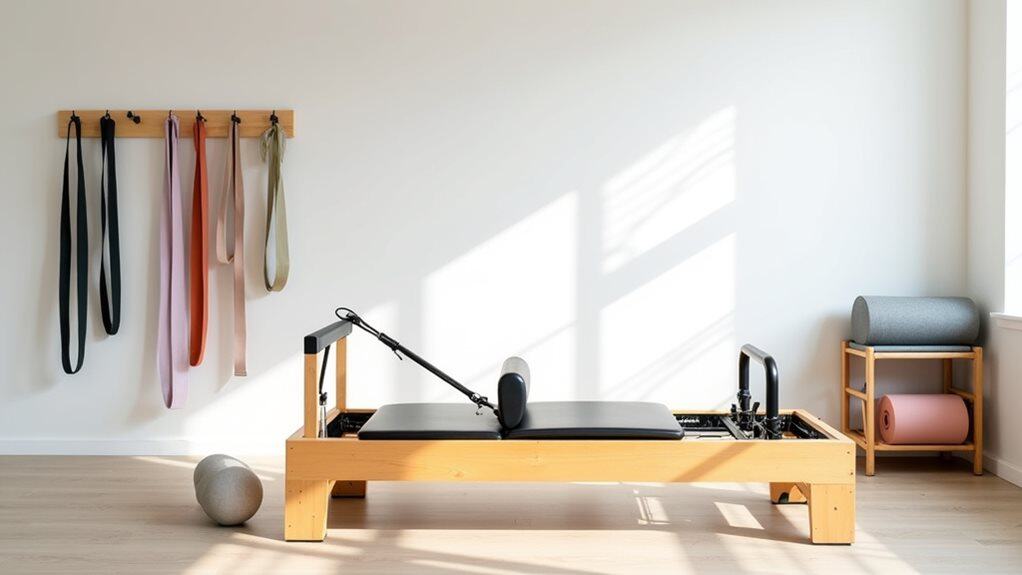
At the heart of a Pilates tower, often referred to as the “half-trapeze,” is its foundational design that allows for a multitude of exercises. Characterized by its vertical frame attached to one end of a reformer bed, this design provides the user with options for both spring resistance and body weight exercises. The tower merges elements of the traditional reformer and the trapeze table (or Cadillac), giving enthusiasts a diverse range of workout possibilities in one compact piece of equipment.
Integral to the tower are various attachments and accessories, which expand the repertoire of exercises available. These often include a push-through bar, roll-down bar, leg springs, and arm springs. The push-through bar, typically adjustable, can either be sprung from the top or the bottom, depending on the exercise. The roll-down bar, on the other hand, aids in exercises that focus on stretching and articulation of the spine. Springs, being central to Pilates equipment, offer adjustable resistance, catering to different strength levels and exercises.
While understanding the components is crucial, the effectiveness and safety of a Pilates tower also hinge on its build quality. Premium towers in commercial settings are typically constructed from high-quality metals, ensuring sturdiness and longevity. Moreover, the springs, which are core to the apparatus, must maintain consistent tension over prolonged use. In a homemade context, ensuring the reliability of these components becomes paramount. This not only guarantees the efficacy of workouts but also ensures safety, making each session productive and injury-free.
Materials and Tools: Making the Right Choices
For the main frame of the Pilates Tower, the choice of material is pivotal. Many commercial towers are constructed from high-grade metals such as stainless steel or aluminum due to their durability and resistance to wear. However, for a homemade version, hardwoods like maple or oak can also serve as sturdy alternatives. When opting for wood, ensure it is treated to resist moisture, as this will prolong its lifespan and maintain its integrity during rigorous exercises.
The springs are a cornerstone of any Pilates apparatus. It’s imperative to source high-quality springs that offer consistent tension. While it might be tempting to repurpose springs from other equipment or sources, it’s advisable to purchase specialized Pilates springs to guarantee safety and functionality. For other attachments like the push-through or roll-down bar, stainless steel or strong aluminum rods can be employed. Ensuring that these rods are smooth and devoid of any sharp edges is essential to prevent injuries.
Securing the tower’s components demands robust fasteners like screws, bolts, and brackets. Opt for rust-resistant varieties, especially if your apparatus might be exposed to moisture or high humidity. Additionally, safety mechanisms such as lockable brackets for the push-through bar or safety straps can provide an extra layer of security, ensuring that the apparatus remains stable during use.
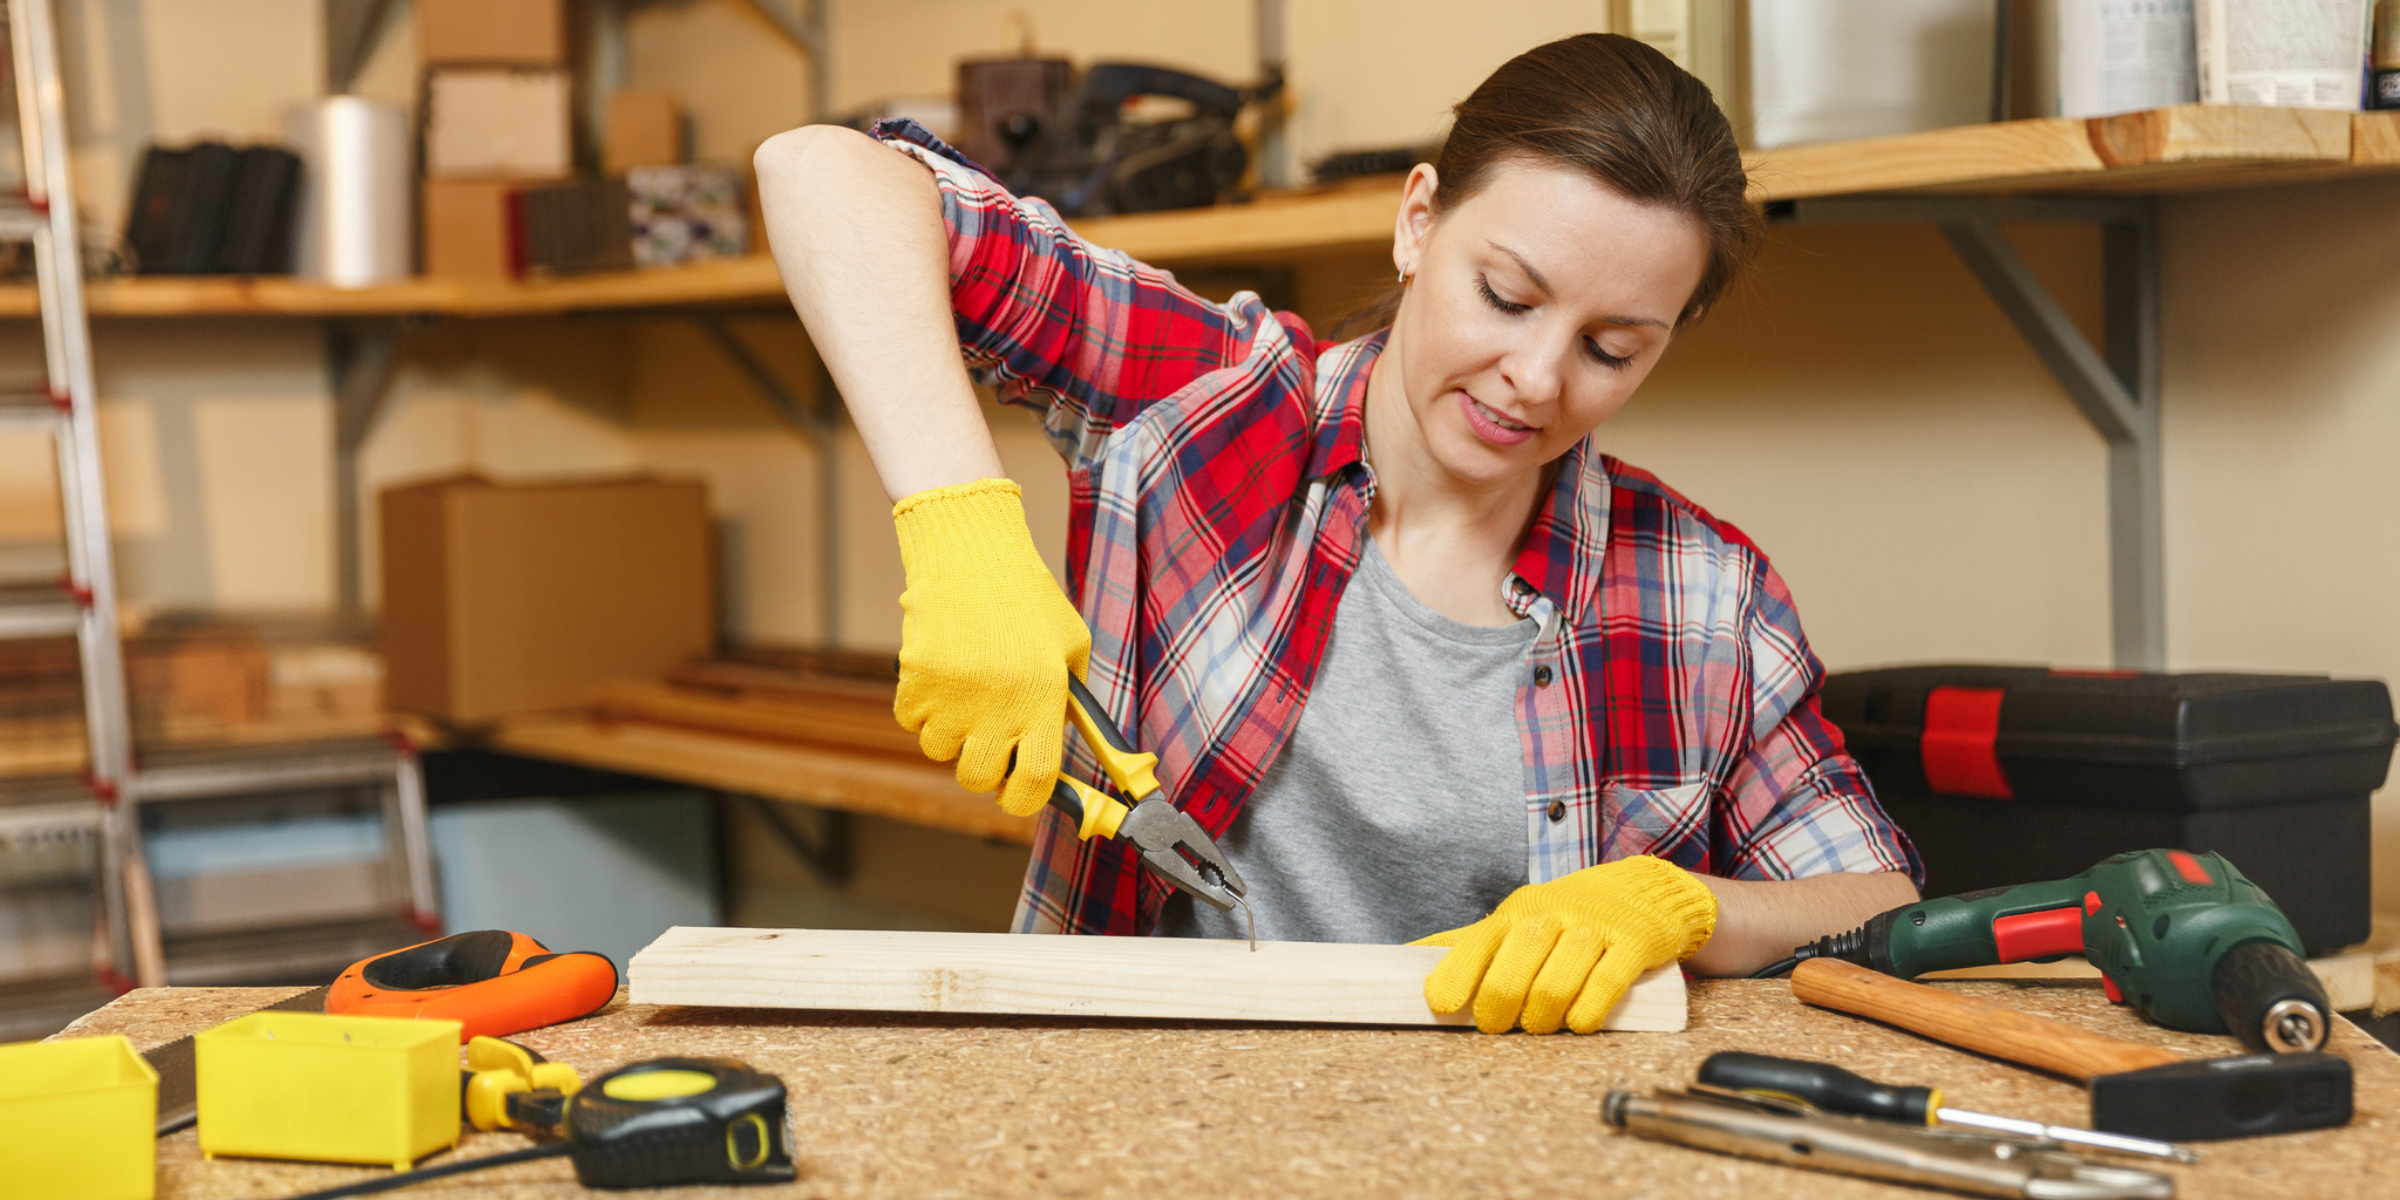
Building a homemade Pilates tower will require a set of essential tools. At the minimum, one would need a power drill, a set of drill bits, a saw (if working with wood), wrenches or spanners for tightening bolts, a measuring tape, and a level to ensure everything is aligned correctly. Having some woodworking or metalworking experience can be a boon, but if not, seeking guidance or tutorials specific to the task can prove invaluable in navigating the building process.
Safety Considerations: Ensuring Stability and User Protection
Safety is paramount when constructing and using any fitness apparatus, and a homemade Pilates tower is no exception. While the allure of a DIY project can be enticing, it’s crucial to prioritize the stability and protection of the user above all else. A poorly constructed tower not only risks ineffective workouts but also poses significant injury risks. As we delve into the key safety considerations, remember that every decision, from material choice to final assembly, plays a role in ensuring a secure exercise environment.
- Sturdy Foundation: Ensure the tower’s base is wide and stable enough to prevent tipping or wobbling, even during rigorous exercises.
- Quality of Materials: Opt for high-grade materials that can withstand the strain and pressure of regular use without succumbing to wear or breakage.
- Regular Maintenance Checks: Once constructed, periodically inspect the tower for any signs of wear, loose bolts, or compromised parts and address any issues immediately.
- Safety Mechanisms: Incorporate features like lockable brackets, safety straps, and non-slip pads to add layers of security during workouts.
- User Weight Limit: Establish and adhere to a user weight limit based on the strength and durability of the materials used.
- Clear Workout Area: Ensure the space around the tower is free of obstructions, reducing the risk of tripping or knocking into other objects.
- Instruction and Guidance: If new to Pilates, users should seek instruction or tutorials to understand proper form and technique, minimizing the risk of misuse and potential injury.
Step-by-Step Guide to Assembling Your Homemade Apparatus
Embarking on the journey of constructing your own Pilates tower can be both exciting and daunting. A well-assembled apparatus ensures not just effective workouts but also the safety of the user. This step-by-step guide aims to simplify the process, providing clear instructions and pointers to help you create a sturdy, reliable, and functional Pilates tower in the comfort of your home. Let’s dive into the assembly process.
1. Planning and Design:
- Sketch a blueprint or layout of your desired Pilates tower dimensions. Consider available space, user height, and the exercises you wish to perform.
- List all components, including the main frame, bars, springs, and other attachments.
- Decide on the material (wood or metal) for the main structure.
2. Gathering Materials and Tools:
- Source high-quality materials based on your design. Remember to consider factors like wood treatments if choosing hardwood.
- Assemble the necessary tools: power drill, drill bits, saw, wrenches, measuring tape, level, and safety gear (goggles, gloves).
3. Preparing the Base:
- Cut or source the material for the base, ensuring it’s broad and stable to provide ample support.
- Sand any rough edges, especially if using wood, to avoid splinters and ensure a smooth finish.
4. Erecting the Vertical Frame:
- Measure and cut (if necessary) the vertical parts.
- Attach them securely to the base using sturdy fasteners. Double-check alignments with a level.
5. Installing the Bars and Attachments:
- Measure and mark the locations for the push-through and roll-down bars.
- Drill holes and secure the bars using robust bolts or screws. Ensure they are parallel to the base.
- Attach the springs to designated areas. Ensure they are evenly tensioned and securely fastened.
6. Safety Features:
- Install safety straps or lockable brackets where needed, especially for the adjustable components.
- Add non-slip pads beneath the base to prevent any movement during use.
7. Finishing Touches:
- If using wood, consider applying a protective finish or sealant to enhance durability.
- Check all the joints, fasteners, and springs to ensure they are tight and secure.
8. Testing:
- Before diving into a full workout, gently test each component. Apply weight to the bars, pull on the springs, and simulate basic exercises to ensure stability.
- Make any necessary adjustments based on this initial test.
9. Regular Maintenance:
- Schedule periodic checks for any signs of wear, rust, or loosening components. Tighten, replace, or repair as necessary to maintain safety and functionality.
Remember, while assembling your homemade Pilates tower can be a rewarding experience, always prioritize safety. If you need more clarification on any step, seek expert advice or assistance.
Sources:
https://www.reddit.com/r/pilates/comments/tu6a9a/building_my_own_pilates_reformer/
https://www.pilatesencyclopedia.com/blog/how-to-choose-pilates-apparatus-for-a-small-studio-space