You've probably eaten enough hummus to fill an Olympic-sized swimming pool, but have you ever considered its perfect pairing with veggie sticks? This Middle Eastern dip has become a global sensation, and for good reason. It's not just about the creamy texture or the protein-packed chickpeas; it's about the complete experience when combined with crisp, colorful vegetables. Whether you're a long-time fan or a curious newcomer, there's more to this simple snack than meets the eye. The history, preparation, and health benefits of this duo might just surprise you.
Key Takeaways
- Hummus and veggie sticks offer a nutritious snack combining plant-based protein, healthy fats, and fiber.
- Basic hummus ingredients include chickpeas, tahini, lemon juice, garlic, and olive oil.
- Cut vegetables like carrots, cucumbers, and bell peppers into sticks for easy dipping.
- Chill hummus for at least an hour before serving with prepared veggie sticks.
- Experiment with flavor variations by adding spices, herbs, or roasted vegetables to the hummus.
History
Where did this popular snack combination originate? You might be surprised to learn that hummus and veggie sticks, as we know them today, are a relatively modern pairing. Hummus itself has ancient roots, tracing back to the Middle East over 700 years ago. It's been a staple in Mediterranean and Middle Eastern cuisines for centuries, traditionally served with warm pita bread.
The concept of pairing hummus with raw vegetables, however, gained popularity in the late 20th century as health-conscious eating trends emerged. You'll find that this combination perfectly aligns with modern dietary preferences, offering a balanced mix of protein, healthy fats, and fiber.
The rise of vegetarianism and veganism has also contributed to its widespread appeal. As you explore this snack's history, you'll discover that it's a prime example of culinary fusion. It brings together the rich tradition of Middle Eastern dips with the Western practice of serving raw vegetables as appetizers.
This blend of cultural influences has created a snack that's both nutritious and satisfying, appealing to a wide range of tastes and dietary needs.
Recipe
Hummus and veggie sticks is a classic, healthy snack that combines the creamy texture of homemade hummus with the crunch of fresh vegetables. This simple yet satisfying dish is perfect for any time of day, offering a nutritious option that's both delicious and easy to prepare.
This recipe focuses on creating a basic hummus that pairs wonderfully with a variety of vegetable sticks. The simplicity of the ingredients allows the natural flavors to shine through, making it an ideal choice for those looking for a quick and wholesome snack.
- 1 can (15 oz) chickpeas, drained and rinsed
- 3 tablespoons tahini
- 2 tablespoons lemon juice
- 1 clove garlic, minced
- 2 tablespoons olive oil
- Salt to taste
- 1/4 cup water (as needed)
- Assorted vegetables for sticks (carrots, cucumbers, bell peppers)
To prepare the hummus, add the chickpeas, tahini, lemon juice, minced garlic, and olive oil to a food processor. Blend until smooth, adding water as needed to achieve the desired consistency. Season with salt to taste.
For the veggie sticks, wash and cut your chosen vegetables into long, thin strips. Arrange the veggie sticks on a plate or in a container alongside a bowl of the freshly made hummus.
For best results, chill the hummus for at least an hour before serving to allow the flavors to meld. If you prefer a smoother texture, consider removing the skins from the chickpeas before blending.
Experiment with different vegetable combinations to find your favorite mix, and don't be afraid to add extra flavors to your hummus, such as roasted red peppers or olives, for variety.
Cooking Steps
To prepare your homemade hummus and veggie sticks, you'll start by draining and rinsing the chickpeas before blending them with the other ingredients until smooth.
Next, you'll cut your chosen vegetables into long, thin sticks while seasoning the hummus to your liking.
Step 1. Drain and Rinse Chickpeas

The first step in preparing your homemade hummus is to drain and rinse the chickpeas. You'll want to start with a can of chickpeas, which are readily available at most grocery stores.
Begin by opening the can and pouring its contents into a colander placed in your sink. Let the liquid drain away completely, giving the colander a gentle shake to ensure all excess liquid is removed.
Next, rinse the chickpeas thoroughly under cool running water. This step is crucial as it helps remove any excess sodium and the starchy liquid from the can, which can affect the taste and texture of your hummus. As you rinse, use your hands to gently agitate the chickpeas, ensuring each one is properly cleaned.
Once you've finished rinsing, give the colander another shake to remove any remaining water. At this point, your chickpeas are ready to be used in your hummus recipe.
This simple process of draining and rinsing might seem basic, but it's an essential step that will contribute to the overall quality and flavor of your homemade hummus.
Step 2. Blend Ingredients Until Smooth

Now that you've prepared your chickpeas, it's time to blend all the ingredients together. Start by adding the drained chickpeas, tahini, lemon juice, and minced garlic to your food processor. Secure the lid tightly and pulse the mixture a few times to begin breaking down the chickpeas.
Then, run the processor continuously for about 1-2 minutes, stopping occasionally to scrape down the sides with a spatula.
As you blend, you'll notice the mixture becoming smoother and more uniform. If it's too thick, add a tablespoon of water at a time until you reach your desired consistency. Don't be afraid to let the processor run for several minutes; this will help achieve a silky-smooth texture that's perfect for dipping.
Once you're satisfied with the consistency, give the hummus a taste. You might want to add a pinch of salt or an extra squeeze of lemon juice to enhance the flavors.
Step 3. Cut Vegetables Into Sticks

While your hummus is chilling, it's time to prepare the veggie sticks. Start by selecting a variety of colorful vegetables that'll complement your creamy dip. Carrots, cucumbers, and bell peppers are classic choices, but don't hesitate to include celery, radishes, or snap peas for added variety.
Wash your vegetables thoroughly under cool running water, making sure to remove any dirt or debris. Next, trim off the ends and remove any seeds or stems. For carrots and cucumbers, you can leave the skin on for added nutrition and fiber.
Now, it's time to cut your veggies into uniform sticks. Aim for pieces about 3-4 inches long and 1/2 inch wide. This size is perfect for dipping and easy handling.
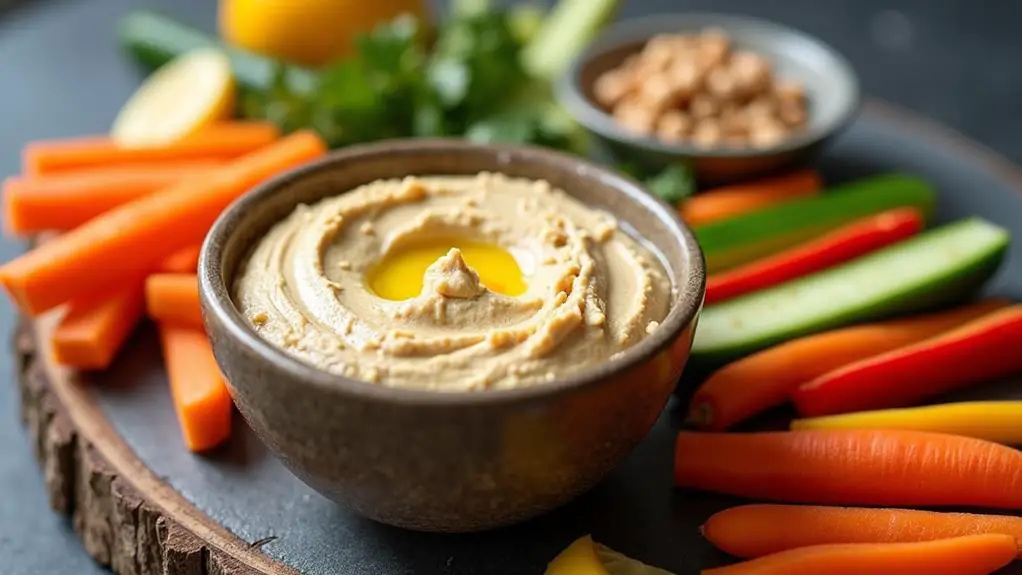
As you cut, arrange your veggie sticks on a serving platter or in individual portions. Group similar colors together for an appealing presentation. Remember, eating with your eyes is part of the experience!
Step 4. Season Hummus to Taste

After blending your hummus ingredients, it's time to fine-tune the flavor. Start by tasting your hummus and considering its current balance. You'll want to adjust the seasonings to create a harmonious blend that suits your palate.
Add a pinch of salt to enhance the overall taste, but be careful not to overdo it. If you feel the hummus needs more zest, squeeze in additional lemon juice for a brighter flavor profile. For those who enjoy a bolder garlic presence, mince an extra clove and mix it in.
Don't forget about spices! A dash of cumin can add warmth and depth, while paprika brings a subtle smokiness. If you're feeling adventurous, try a sprinkle of za'atar or sumac for an authentic Middle Eastern twist.
Remember, you're crafting this hummus for your enjoyment, so trust your taste buds. As you adjust the seasonings, mix well and taste after each addition. This process allows you to create a personalized hummus that you'll love sharing with friends and family.
Once you're satisfied with the flavor, give it one final blend to ensure all the new ingredients are well incorporated.
Step 5. Chill and Serve Hummus

The final two steps in preparing your homemade hummus are chilling and serving.
After you've blended your ingredients and achieved the desired consistency, it's time to let your creation rest. Transfer the hummus to an airtight container and place it in the refrigerator for at least an hour. This chilling period allows the flavors to meld and intensify, resulting in a more delicious and cohesive dip.
When you're ready to serve, remove the hummus from the fridge and give it a quick stir. If it's too thick, you can add a splash of cold water or a drizzle of olive oil to loosen it up.
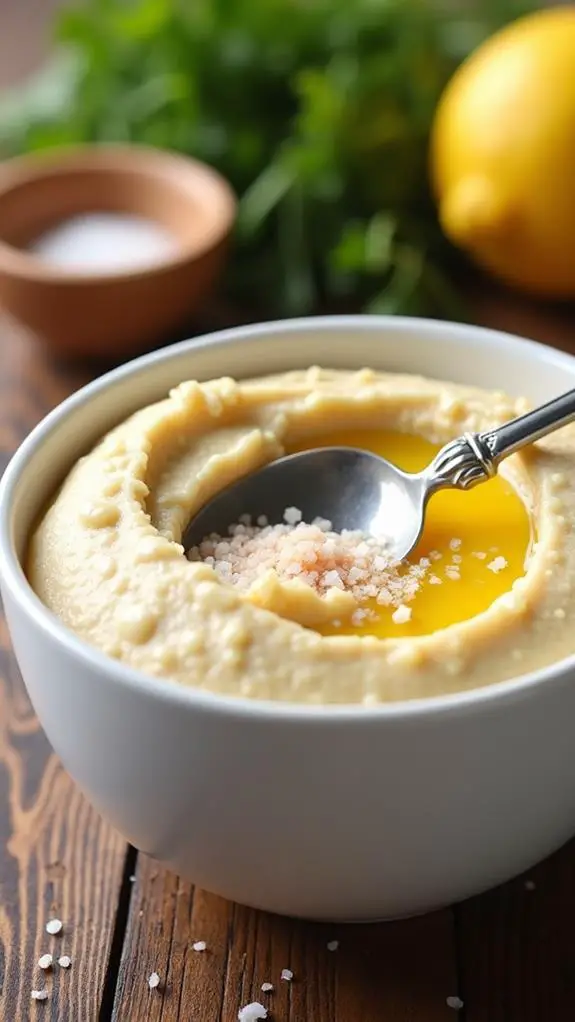
Spoon the hummus into a serving bowl, creating swirls on the surface with the back of a spoon for an appealing presentation. Drizzle with a touch of olive oil and sprinkle with paprika or fresh herbs for added flavor and visual appeal.
Arrange your prepared veggie sticks around the bowl of hummus, creating an inviting display that's sure to tempt your guests. Your homemade hummus and veggie sticks are now ready to be enjoyed by all.
Final Thoughts
Simplicity reigns supreme in this classic snack combination. You'll find that hummus and veggie sticks offer a perfect balance of flavors and textures, making them a go-to option for health-conscious snackers.
As you enjoy this nutritious treat, you're joining a community of food lovers who appreciate wholesome, homemade goodness.
Remember, the key to a great hummus lies in finding the right consistency and flavor balance. Don't be afraid to adjust the ingredients to suit your taste preferences. You might discover that you enjoy a zestier hummus with extra lemon juice or a smoother version with peeled chickpeas.
As for the veggie sticks, variety is your friend. Mix and match different vegetables to keep things interesting and ensure you're getting a wide range of nutrients.


