Navigating the world of fitness equipment can be daunting, especially when striving to enhance a practice as intricate and graceful as Pilates. Resistance bands stand out as versatile allies in our quest for physical betterment among the myriad available tools. However, not all bands are created equal.
Just as Pilates requires precise movement, choosing the right resistance band requires a discerning eye. In this exploration, we’ll delve into the nuances of these stretchy tools, ensuring you know how to make an informed choice for your Pilates journey.
The Anatomy of Resistance Bands: Types and Materials
Despite their simple appearance, resistance bands come in various designs and are crafted from various materials. These differences play a crucial role in determining their functionality, durability, and compatibility with specific exercises, such as those in Pilates. Here’s a deeper look into the anatomy of resistance bands:
1. Flat Bands vs. Loop Bands
- Flat Bands are long, flat rubber strips typically used for general strengthening and stretching exercises. Their open-ended design means they can be looped or tied to create different lengths and tensions.
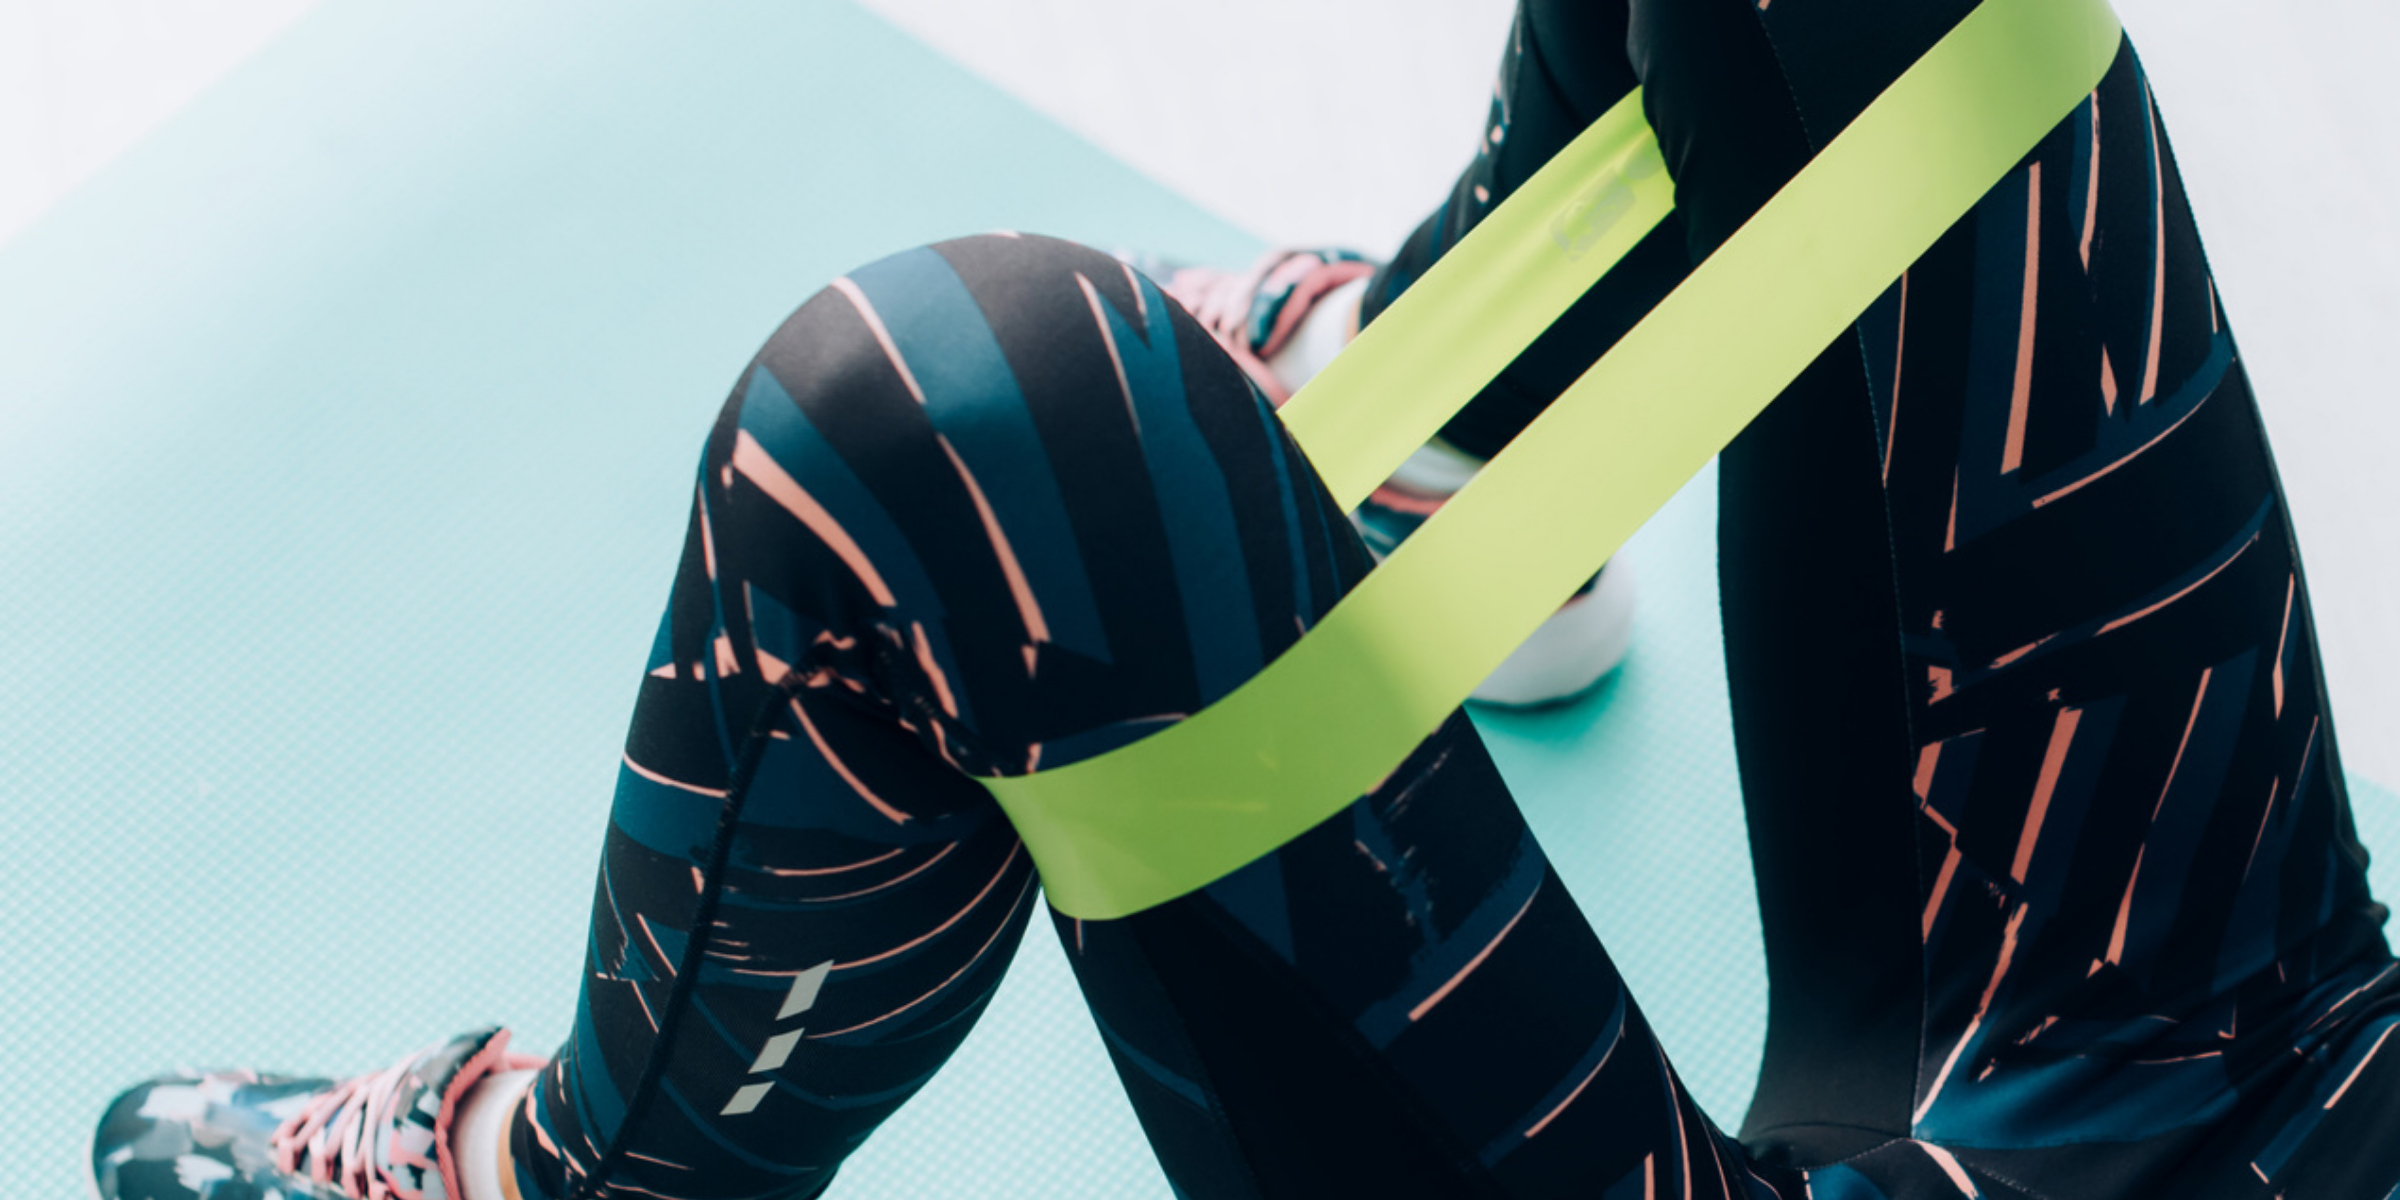
- Loop Bands: As the name suggests, these bands form a continuous loop. They’re ideal for lower body exercises, such as hip thrusts or lateral leg raises, as they can easily wrap around ankles or thighs.
2. Tubed Bands with Handles
These are tubular and often come with handles at both ends. Their design makes them great for exercises that require a grip or when replicating movements done with dumbbells or gym machines.
3. Therapy Bands
Therapy bands are often used in physiotherapy and rehabilitation settings. They are similar to flat bands but are usually lighter in resistance and are softer to the touch, making them suitable for individuals recovering from injuries.
4. Materials
- Latex: One of the most common materials used for resistance bands. It offers excellent stretchability and is generally durable. However, some individuals might be allergic to latex, so it’s crucial to be aware if you’re among them.
- Thermoplastic Elastomer (TPE): This material is latex-free, making it a suitable alternative for those with allergies. It’s also recyclable and environmentally friendly but might offer a different longevity than latex.
- Fabric: Typically a blend of cotton and elastic, fabric resistance bands are gentler on the skin and less likely to roll or pinch. They are especially popular for lower body exercises.
5. Colors and Resistance Levels
Many brands use a color-coding system to indicate resistance levels. While there’s no universal standard, lighter colors like yellow often represent lower resistance, while darker shades like blue or black denote higher resistance. Always refer to the brand’s specific chart or guide.
Understanding the anatomy and materials of resistance bands is essential when choosing the right band for your Pilates routine. Awareness of these differences ensures you select a band that aligns with your fitness goals, offers optimal performance, and stands the test of time.
Gauging the Right Tension: From Beginner to Advanced
The beauty of resistance bands lies in their adaptability to a broad spectrum of fitness levels. Whether you’re a Pilates novice or a seasoned practitioner, there’s a band to meet your needs. Choosing the right tension is paramount, as it can greatly influence the effectiveness of your workout and reduce the risk of injury. Here’s a guide to help you make the right choice:
1. Understanding Resistance Levels
Resistance bands come in varying degrees of tension, often labeled from extra light to extra heavy. This gradient helps users progress gradually, increasing resistance as their strength and proficiency grow.
2. Starting: Beginners
- Extra Light & Light: These tensions are ideal if you’re new to Pilates or are rehabilitating from an injury. They provide a gentle introduction, allowing users to focus on form and alignment without excessive strain.
- Tip: As a beginner, prioritize mastering movements rather than challenging yourself with heavy resistance.
3. Intermediate Users: Building Strength
- Medium: As you become more comfortable with basic Pilates exercises and wish to intensify your workout, medium resistance bands are your next step. They offer a balanced challenge, fostering muscle growth and endurance.
4. Advanced Practitioners: Maximizing Potential
- Heavy & Extra Heavy: These bands provide the necessary challenge for those well-versed in Pilates and looking for an intense workout. They’re also suitable for athletes and individuals with a strong fitness background.
- Note: Always maintain proper form, even when working with high resistance. Compromising techniques for resistance can lead to injuries.
5. Adapting Resistance to Exercise Types
Not all exercises require the same tension. For instance, a band that feels perfect for leg exercises might feel overly restrictive for arm movements. Listen to your body, and don’t be afraid to switch bands depending on the exercise.
6. The Double-Up Technique
If you find yourself between resistance levels, a handy trick is to fold or double up your band, effectively increasing its tension. This method provides an interim solution as you transition between levels.
In summary, the right tension in a resistance band is a dynamic choice that should evolve with your progress in Pilates. Regularly assess your strength and comfort level and adjust accordingly. Remember, it’s not about how heavy you can go but about maximizing benefits while maintaining safety and proper technique.
Safety and Maintenance: Ensuring Durability and Performance
The longevity and performance of your resistance band hinge on proper care and safety precautions. It’s not just about selecting the right band but ensuring it serves you well for a considerable duration.
Before every use, inspecting your resistance band for signs of wear, such as small tears or nicks, is essential. Over time, even minor damages can lead to the band snapping during exercises, posing a safety risk. If you notice imperfections, replace the band promptly to avoid potential injuries.
How you use the band can significantly influence its durability. Stretching the band in control, steady motions, instead of rapid jerks, ensures it isn’t unduly strained. Furthermore, when positioning it during exercises, ensure it lies flat, without twists or folds, to prevent uneven wear.
Maintenance, too, is paramount. After each session, clean the band with a damp cloth to remove sweat or dirt that could degrade the material. Store it away from direct sunlight and temperate conditions, as extreme temperatures can compromise its elasticity. Instead of folding the band tightly, opt for a loose coil or hanging method to relieve tension.
Lastly, be mindful of where you exercise. Rough or sharp surfaces can cause undue wear on the band. Use a mat as a buffer, especially when working out outdoors.
In essence, the optimal performance of a resistance band depends not only on initial selection but also on continued safety practices and maintenance. With proper care, your band can remain a reliable component of your Pilates routine for a long time.
Incorporating Bands into Your Pilates Flow: Tips and Techniques
Incorporating resistance bands into your Pilates routine can elevate your practice, introducing nuanced challenges and fostering deeper muscle engagement. While they offer a fresh dimension to exercises, it’s crucial to integrate them thoughtfully, ensuring that the essence of Pilates—precision, control, and flow—remains undisturbed.
- Assess Your Routine: Identify exercises where adding resistance can be most beneficial.
- Form Over Resistance: Start with lighter bands to maintain the correct technique before progressing to heavier tensions.
- Mix and Match: Not all exercises need a band. Introduce them selectively for a balanced workout.
- Maintain Tension: Ensure the band remains taut during exercises to keep muscles engaged.
- Experiment: Adapt and adjust exercises to find what feels right for your body.
- Breathe Consistently: Even with added resistance, rhythmic breathing remains integral to Pilates. Don’t hold your breath.
- Listen to Your Body: Respect your limits and ensure that adding bands complements your practice.
Sources:
https://www.verywellfit.com/choosing-and-using-resistance-bands-1229709–https://www.wise-geek.com/how-do-i-choose-the-best-pilates-resistance-band.htm