In an age where the comforts of home and the versatility of self-made solutions converge, the realms of fitness and creativity beautifully intertwine. As many seek to maintain their physical well-being within their personal spaces, an inventive approach to exercise emerges, drawing from Pilates’s time-honored principles.
Dive into this journey of ingenious adaptation, where everyday items evolve into tools of strength, balance, and flexibility, setting the stage for a transformative home workout experience.
Repurposing Household Items: A New Twist on Traditional Apparatus
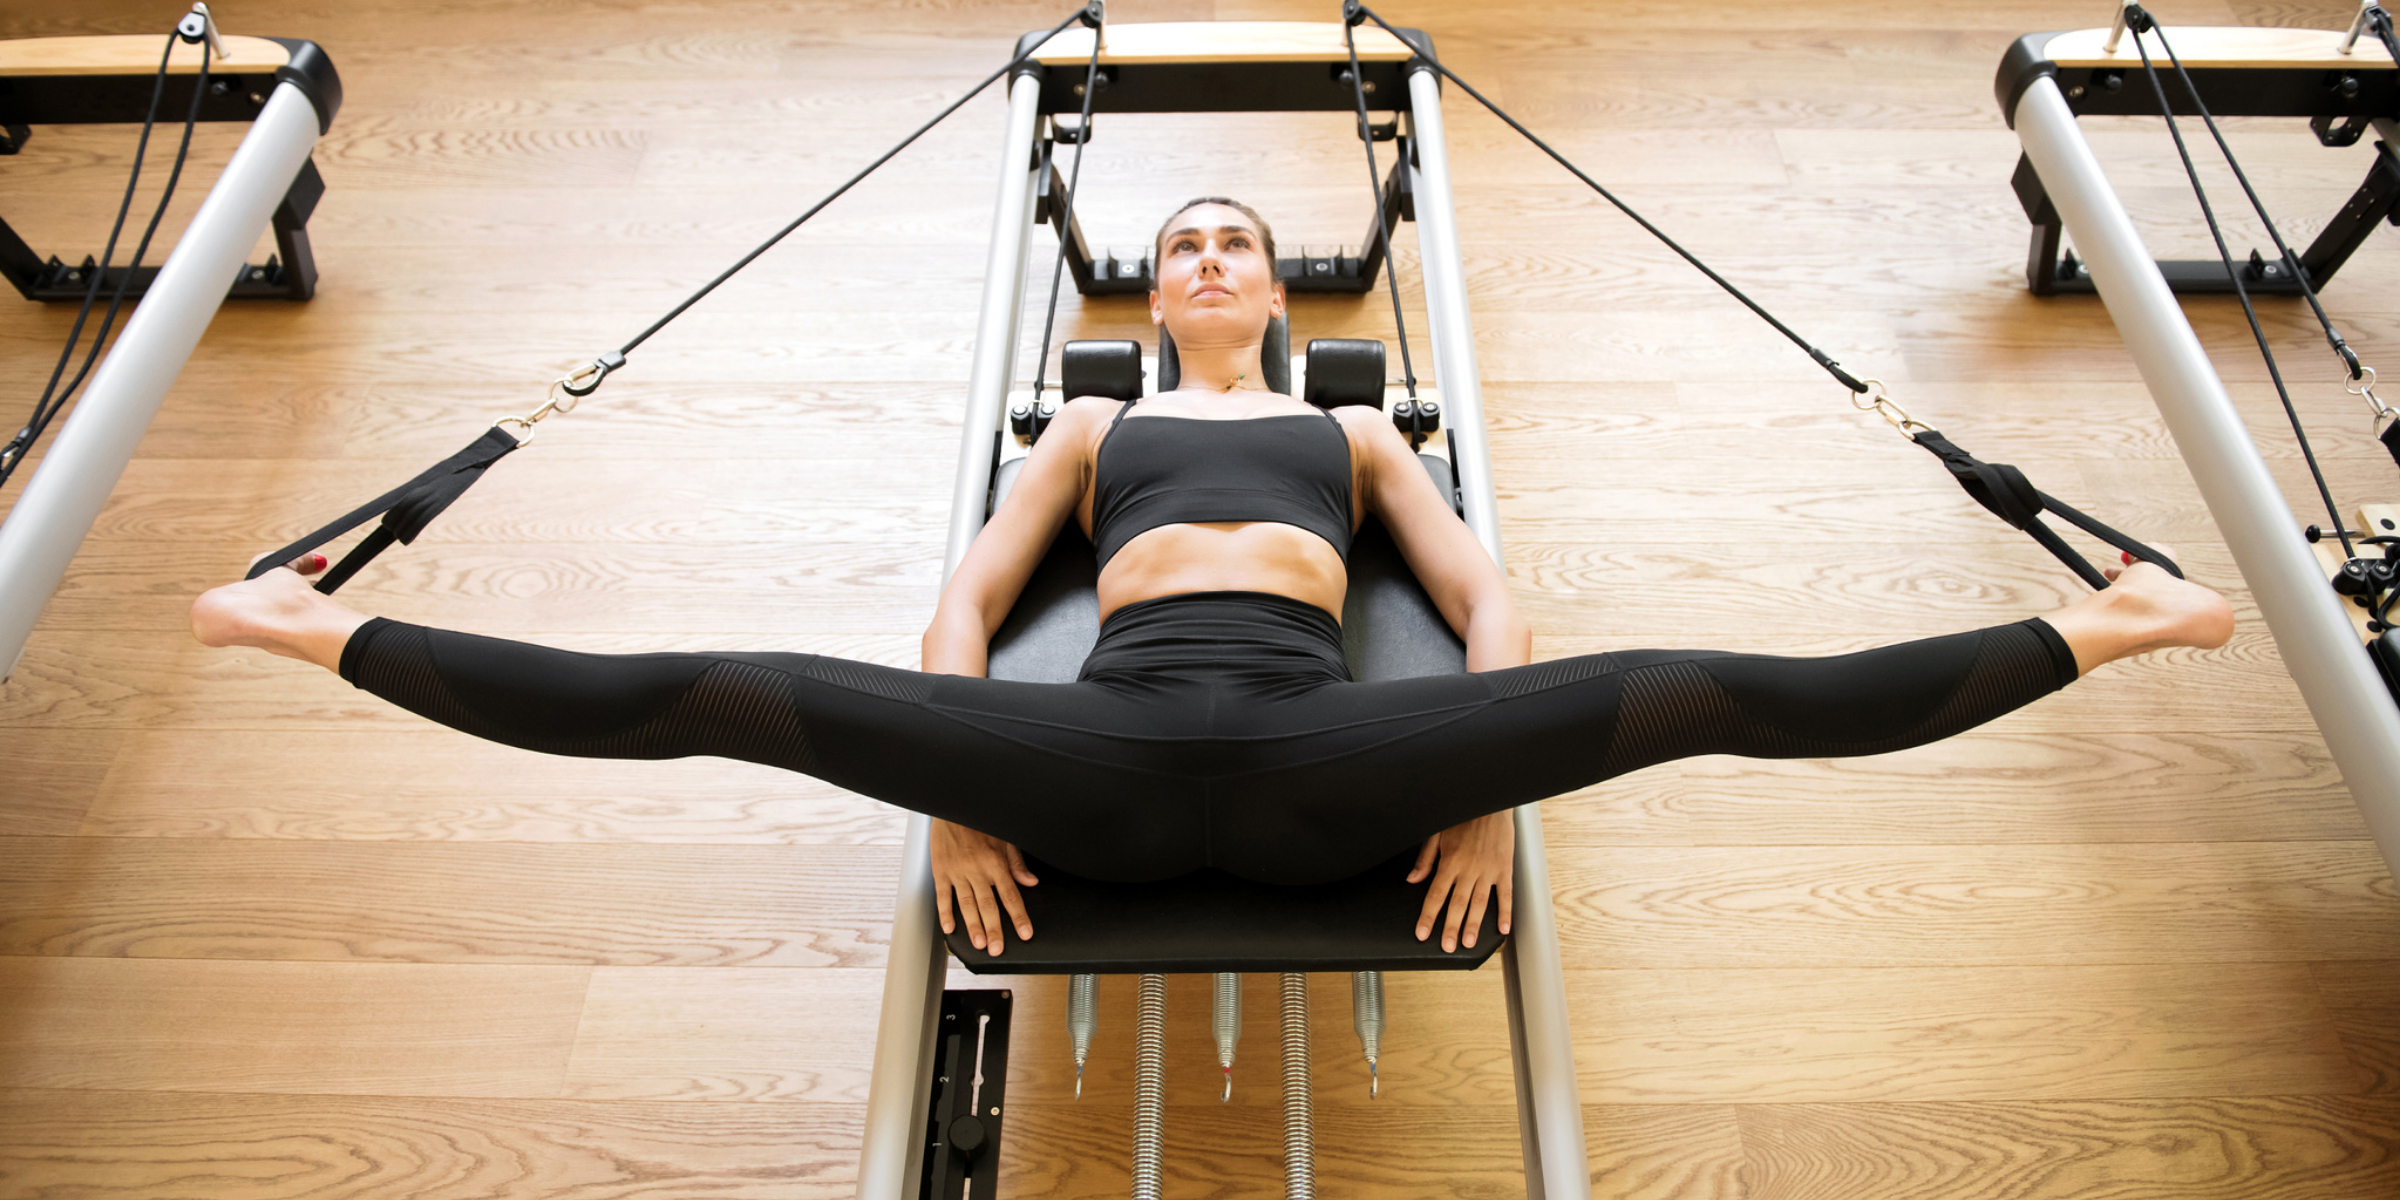
In the realm of Pilates, traditional apparatus like the Reformer, Cadillac, and Wunda Chair have always taken center stage. However, these specialized pieces can often be out of reach for those practicing Pilates at home due to space or budget constraints. Fear not! With a sprinkle of creativity, many common household items can be transformed into effective Pilates equipment. Here’s how:
Broomsticks and Mops: A stable grip and straight form can easily replace the Pilates bar, aiding in balance and posture exercises. Just ensure they’re sturdy enough to bear your weight without snapping.
Thick Books: Stack some sturdy, hardcover books to mimic a step or block, assisting in modified exercises or stretches. They’re especially handy for beginners needing a bit of elevation.
Towels and Blankets: These can double up as sliding discs on smooth floors, enabling exercises that challenge stability and strength. For added resistance, dampen the towel slightly.
Canned Goods: Those canned beans or soups in your pantry? They can be the perfect lightweight hand weights. As you progress, you can switch to larger cans for increased resistance.
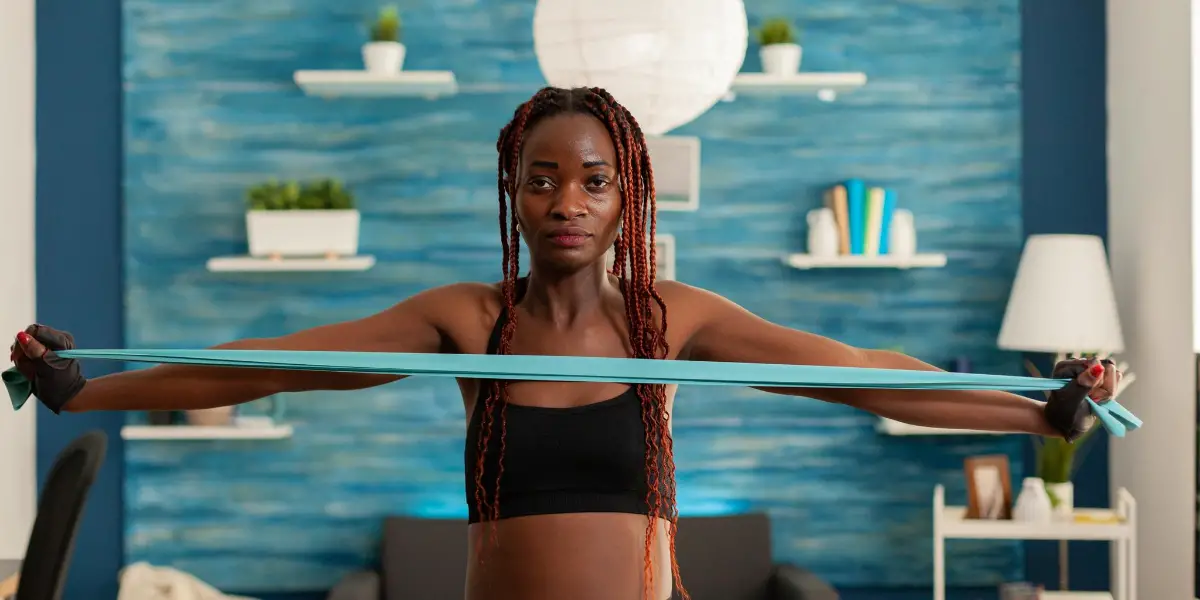
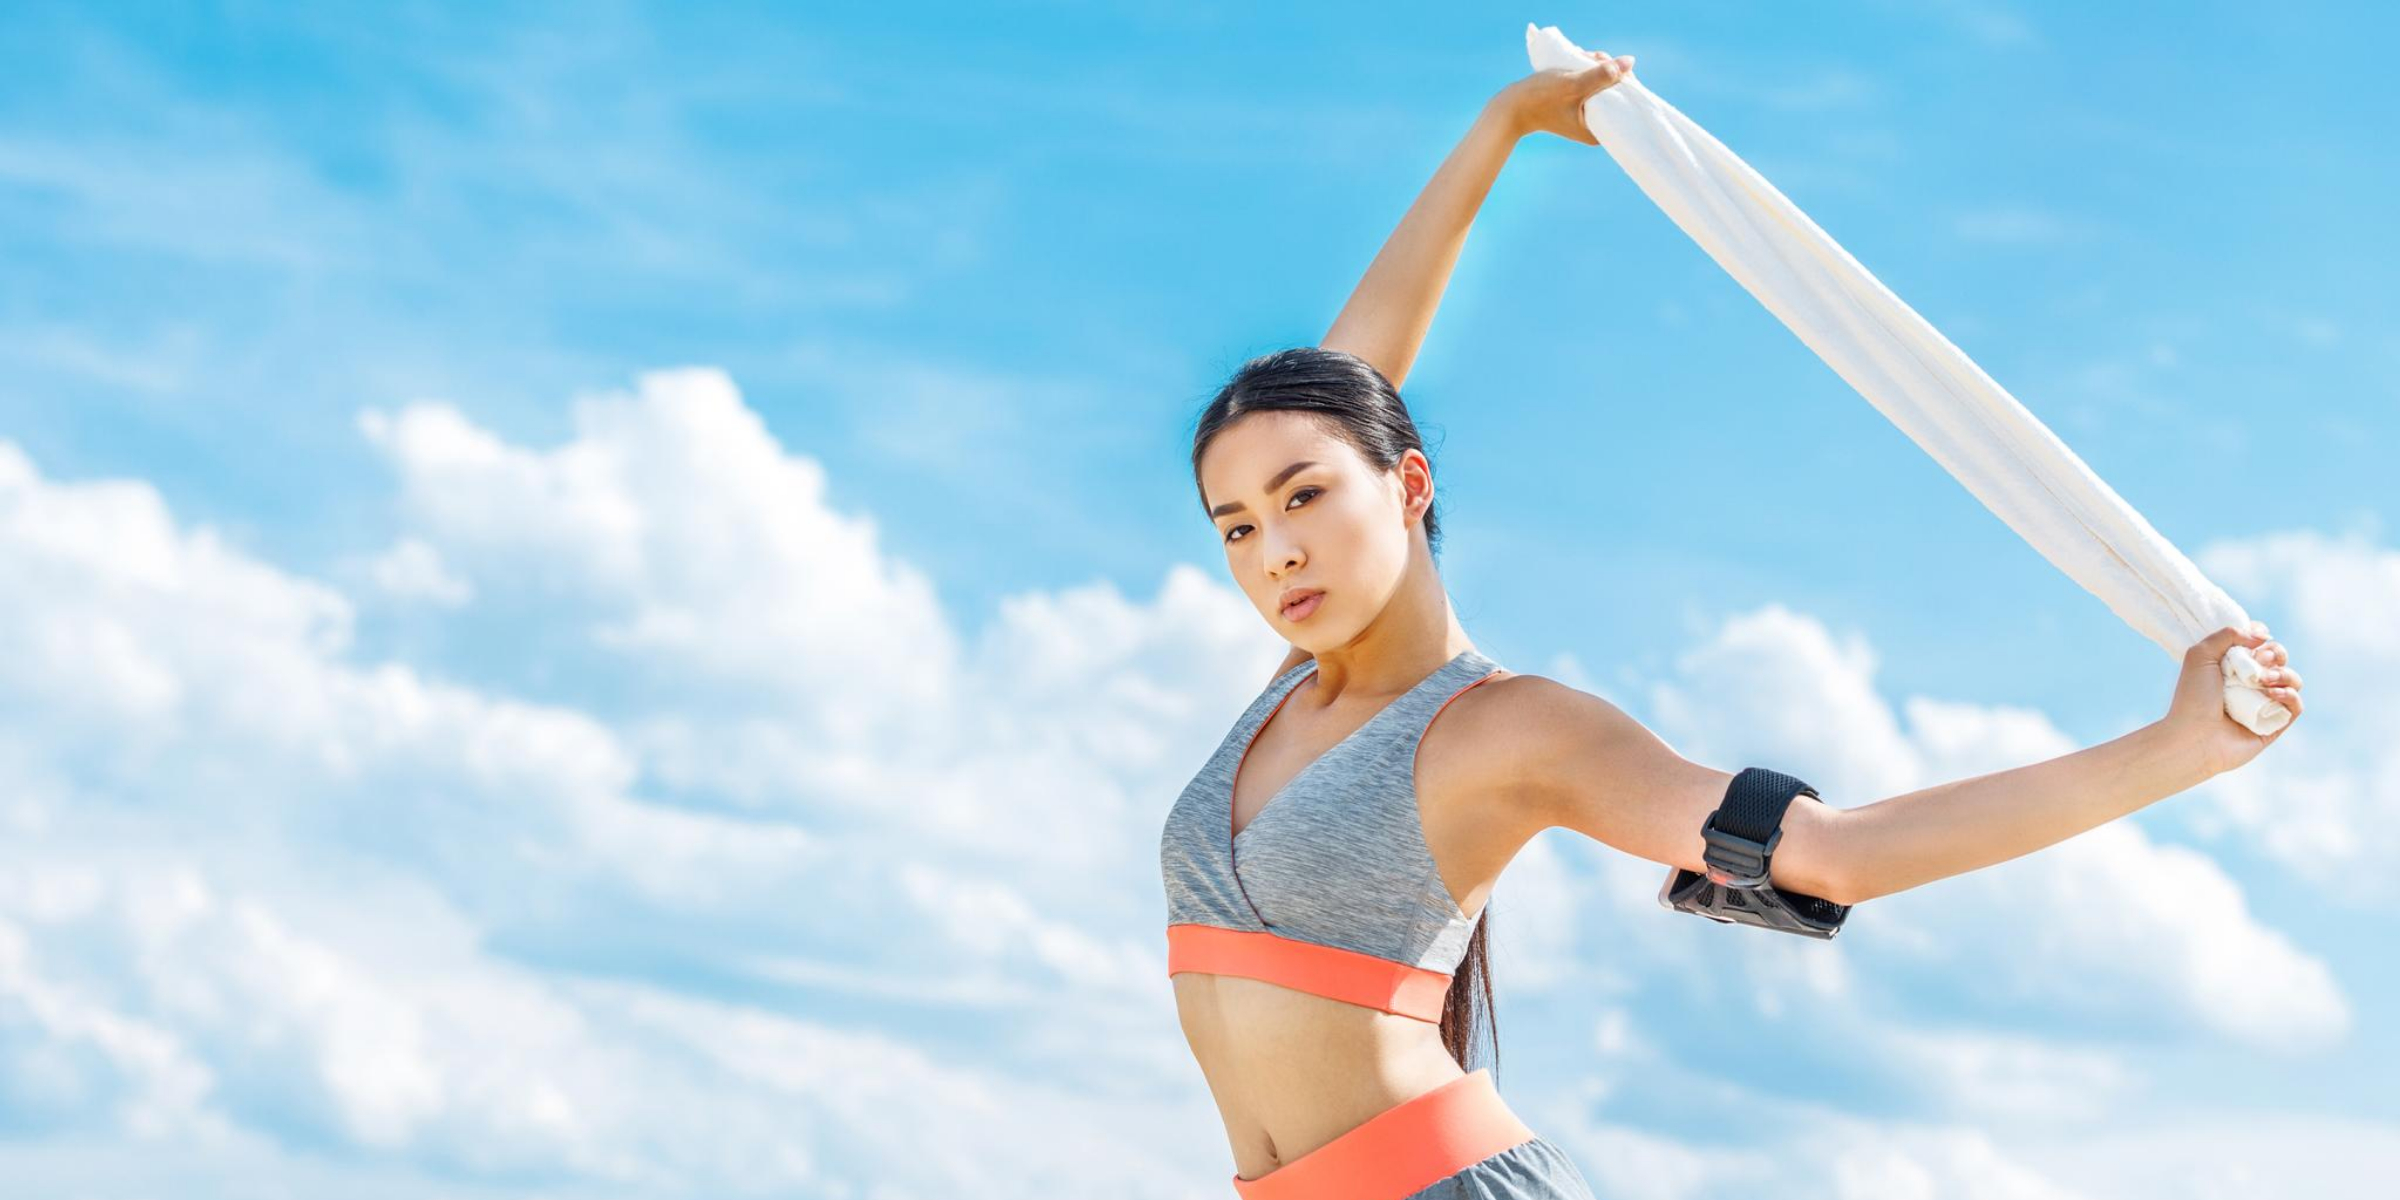
Belts and Scarves: Mimic stretch bands or magic circles with long scarves or belts. When pulled taut, they can be used for leg stretches, arm exercises, or even resistance training.
Socks: Wearing a pair of smooth socks on a hardwood or tiled floor can help simulate some of the sliding exercises you’d do on a Reformer.
Remember, the key is to view everyday items with an innovative mindset. Almost anything can be transformed with a touch of imagination. However, always prioritize safety. Before embarking on a new exercise, ensure the household item you’re using can withstand the pressure and won’t cause any harm. With these inventive approaches, you’ll be well on your way to a rewarding and effective Pilates session in the comfort of your home.
Safety First: Ensuring Your DIY Equipment Meets the Mark
As exciting as the prospect of crafting your own Pilates apparatus can be, it’s paramount to emphasize the importance of safety. Pilates is a discipline that requires precision, stability, and, at times, the ability to support one’s body weight in various positions. While household items offer a convenient alternative, not all are built to take on the stresses of a workout. Here’s how to ensure your DIY equipment is not only creative but also safe:
- Stability Check: Before using any item, test its stability. For instance, if you use a chair or stool for certain exercises, ensure it won’t tip or wobble under your weight.
- Material Matters: Always consider the material of your DIY equipment. A glass bottle may seem like a good weight, but it’s risky due to potential breakage. Opt for items made of sturdy, non-fragile materials.
- Secure Fastenings: If you’re tying, knotting, or securing anything, double-check its hold. Whether it’s a scarf, belt, or rope, ensure it won’t come undone mid-exercise.
- Ground Surface: Even if your makeshift equipment is solid, the surface you’re working on matters. Ensure it’s slip-free and even, especially if you use towels or socks for sliding exercises.
- Regular Inspection: Over time, wear and tear can compromise the safety of your items. Always inspect your DIY equipment for any signs of damage or wear before each session.
- Start Slow: When introducing new DIY equipment, start with basic exercises to gauge its functionality and reliability. You can incorporate it into more complex routines as you grow more confident in its durability.
- Stay Informed: Always be aware of the traditional use of any Pilates equipment you’re trying to replicate. This knowledge will give you insights into the kind of stresses and strains the DIY version needs to handle.
- Listen to Your Body: Your body is the best gauge. If something doesn’t feel right, or if an item feels unstable or uncomfortable, it’s best to stop and reassess.
Remember, while DIY solutions are innovative and budget-friendly, your well-being should always be the top priority. No exercise or equipment is worth risking injury. By ensuring that your homemade apparatus is as safe as it is ingenious, you can enjoy the benefits of Pilates without compromise.
Maintenance and Care: Keeping Your Homemade Gear in Top Shape
When you’ve invested time and creativity into crafting your DIY Pilates equipment, ensuring their longevity through proper maintenance and care is equally important. As with commercial fitness gear, your homemade items will require regular attention to keep them functional and safe for use over time.
Regular inspection of your equipment is the cornerstone of its upkeep. This means routinely checking for any signs of wear and tear, frayed edges, loose components, or structural damages. Especially if you’re using items not originally intended for exercise, they might wear down more rapidly than their commercial counterparts. A small issue, if overlooked, can quickly escalate into a safety hazard during a workout.
Cleaning your equipment should be a part of your post-workout routine. Sweaty sessions can leave behind moisture and bacteria, which, over time, can degrade the quality of your items. Simple cleaning solutions made of water and mild soap can effectively cleanse most surfaces without causing damage. For items like mats or fabric-based equipment, ensure they are fully dried before storage to prevent mold and mildew formation.
Storage plays a pivotal role in equipment maintenance. Avoid stacking or bundling items in a way that might distort their shape or structure. Store them in a cool, dry place, away from direct sunlight or extreme temperatures, which can degrade certain materials over time. If you’re using elastic materials, like bands or ropes, ensure they’re relaxed when stored, as continuous tension can cause them to lose elasticity.
Lastly, the nature of DIY means that sometimes, no matter how much care you invest, items will reach the end of their functional life faster than store-bought equipment. When this happens, it’s essential to retire and replace them. Repurpose or recycle the old gear if possible, but avoid using equipment that seems even remotely compromised.
The key to a long-lasting and safe DIY Pilates experience lies in diligent maintenance and care. With regular attention to the state and storage of your homemade equipment, you can ensure its longevity and the safety and efficacy of your workouts.
Sources:
https://www.popsugar.com/fitness/reformer-pilates-at-home-without-reformer-49081894
https://www.extraspace.com/blog/home-organization/diy-projects/home-gym-design-ideas/
https://www.cnet.com/health/fitness/no-fancy-equipment-needed-how-to-do-pilates-at-home/