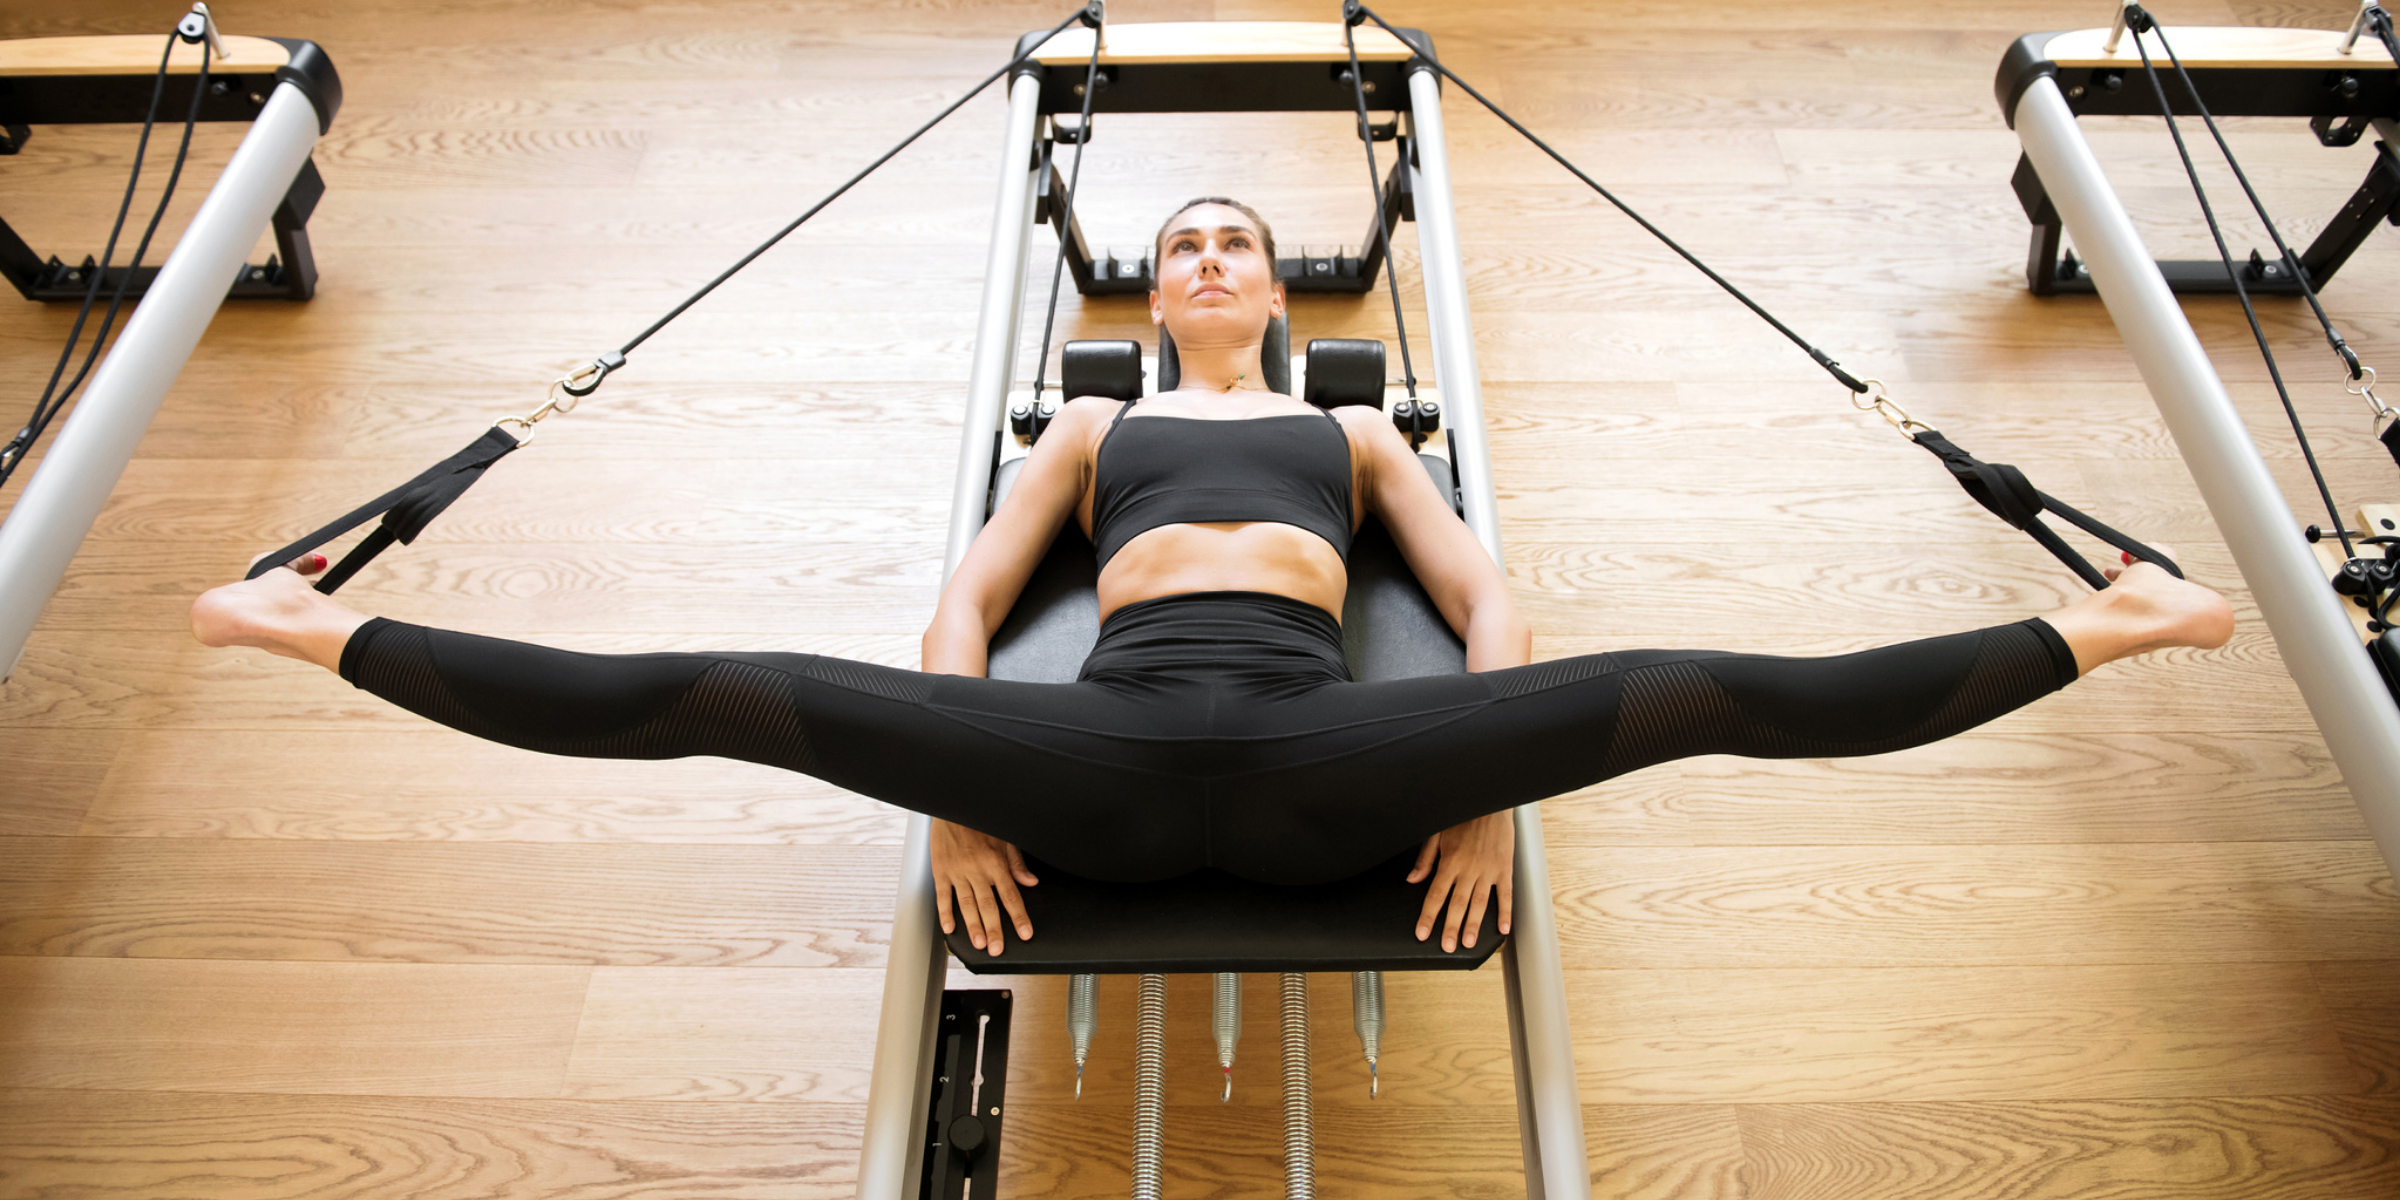
Pilates, a practice known for improving flexibility, building strength, and refining posture, often incorporates specialized equipment to uniquely challenge and support the body. Among these tools is the renowned Pilates Reformer, a bed-like frame with a series of attached springs that provide resistance during workouts.
Like all equipment, the Reformer’s components can experience wear and tear over time. For adventurous souls seeking to understand the nuances of their beloved apparatus, delving into the intricacies of spring replacement might be the next step in their Pilates journey.
Understanding the Importance of Spring Tension
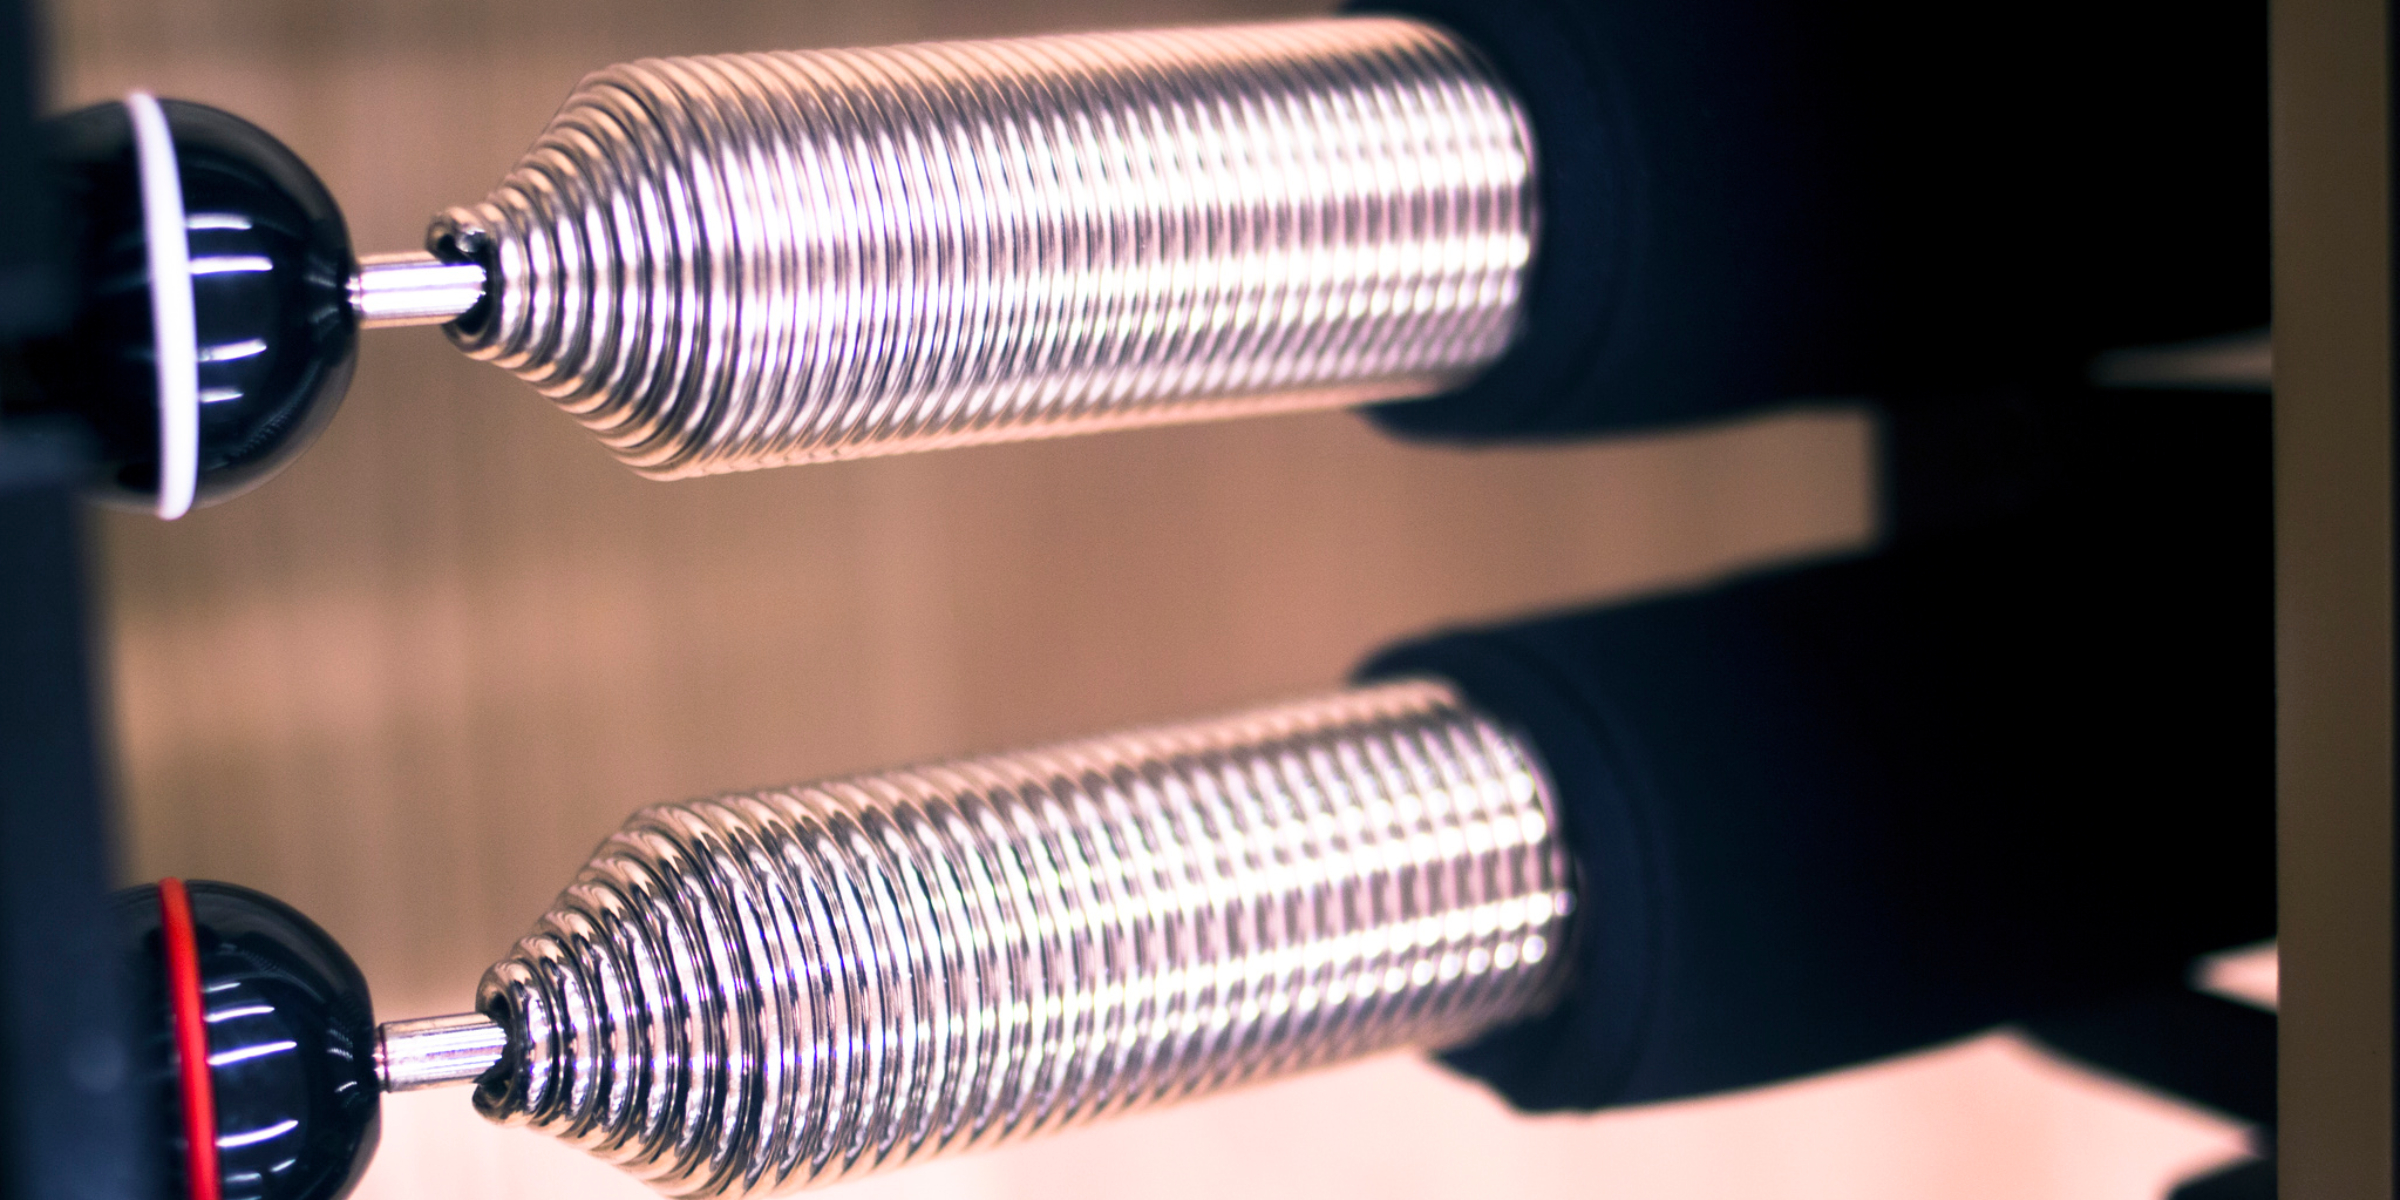
At the heart of the Pilates Reformer’s effectiveness lies its adaptable resistance mechanism, primarily determined by the tension of its springs. These springs, designed to provide varying resistance levels, allow users to customize their workouts based on strength, flexibility, and endurance. Their calibrated tension helps ensure exercises are both challenging and safe, delivering tailored feedback to the practitioner.
The precision of spring tension strikes a delicate balance. Too little tension can make exercises less effective, failing to provide the resistance needed for muscle engagement. On the other hand, overly tight springs might risk overexertion or strain. This equilibrium ensures users reap Pilates’s full benefits, experiencing both its strengthening and therapeutic qualities.
As with all mechanical components, springs inevitably lose their optimal tension over time. Regular use and natural wear and tear lead to a gradual decline in spring efficacy. Being attuned to these changes is vital. Recognizing when springs no longer offer their designated resistance ensures that the user can maintain a consistent and effective Pilates practice.
Step-by-Step Guide: Safely Replacing Your Springs
1. Safety Precautions
Before beginning, ensure you’re wearing safety gloves and glasses. This will protect your hands and eyes from any sudden releases of tension or unforeseen mishaps.
2. Unplug and Secure the Reformer
If your Reformer has any electronic components, make sure it’s unplugged. Position the carriage so it’s stable and won’t move unexpectedly during the replacement process.
3. Remove the Old Springs
a. Use the adjustable wrench to loosen bolts or fasteners securing the spring.
b. With pliers and wearing your safety gloves, gently unhook the spring from its attachment point.
c. Slowly release any remaining tension in the spring before fully removing it from the Reformer.
4. Inspect the Hooks and Attachment Points
Before installing the new springs, take a moment to inspect the hooks and areas where the springs attach. Look for any signs of wear, rust, or damage. If these parts look compromised, consider replacing them or consulting the manufacturer before proceeding.
5. Attach the New Springs
a. Start by hooking one end of the spring to its designated attachment point.
b. With the pliers and wearing safety gloves, pull the other end of the spring to hook it onto the Reformer. This might require some force, so ensure you have a firm grip.
c. Once attached, check that the spring is secure and properly positioned.
6. Test the Springs
Before using the Reformer for a workout, it’s essential to test the newly installed springs:
a. Move the carriage back and forth to ensure smooth movement.
b. Adjust the spring tension settings and feel the resistance. It should transition smoothly across different tension levels.
c. Listen for unusual sounds or indications that the spring might not be seated properly.
7. Regular Maintenance
Once the springs are successfully replaced, commit to regular checks and maintenance. This not only ensures the longevity of the springs but also keeps your workouts safe and effective.
8. Disposal of Old Springs
Dispose of the old springs in an environmentally responsible manner. Check local regulations for metal disposal or recycling options.
Remember, while the process might seem simple on paper, it’s always best to consult a professional or the manufacturer if you feel uncomfortable or unsure. Your safety and the integrity of your equipment are paramount.
Assessing the Wear and Tear: When to Consider Replacement
Every piece of equipment has an expected lifespan, and Pilates Reformer springs are no exception. Typically, with regular use, springs can last anywhere from 12 to 24 months before they show signs of degradation. However, the exact lifespan can vary based on the frequency of use, the quality of the springs, and how they’re maintained.
Signs of Fatigue
Several telltale signs indicate it might be time to replace the springs on a Reformer. These include:
- Loss of Resistance: If exercises suddenly feel easier without adjusting the spring tension, it might be due to the springs wearing out.
- Inconsistent Resistance: Springs with uneven or jerky resistance during exercises can clearly show wear.
- Visible Wear: Over time, springs might exhibit visible signs like rust, distortion, or even slight gaps in the coils.
Safety First
It’s crucial to remember that compromised springs don’t just affect the efficacy of a workout; they can also pose safety risks. A worn-out spring could snap during use, causing injury. Thus, while it might be tempting to stretch the life of a spring to save on costs, it’s paramount to prioritize safety and replace them as needed. Regularly inspecting springs, especially if they’re approaching the end of their typical lifespan, is a proactive way to ensure a safe and effective workout.
Tools and Materials: Preparing for the Task
Having the right tools is essential before replacing the springs on your Pilates Reformer. Commonly, you’ll need:
- Adjustable Wrench: This will loosen and tighten the bolts or nuts that secure the springs.
- Pliers: Useful for gripping and adjusting the springs during installation.
- Safety Gloves: Protect your hands from pinches or scratches when handling the springs.
- Safety Glasses: To shield your eyes from accidental spring releases or debris.
Selecting the Right Springs
Not all springs are created equal. It’s crucial to choose the right type for your specific Reformer model:
- Manufacturer’s Recommendation: Always refer to the manufacturer’s guide or website to determine the exact spring type and specifications for your Reformer.
- Tension Levels: Springs come in various tension levels, often labeled as light, medium, or heavy. Ensure you select the right tension based on your personal or clientele needs.
Preparation and Workspace
Set up a clean, well-lit workspace with ample room to maneuver around the Reformer. Lay out your tools organized so they’re easily accessible. If possible, work on a non-slip surface to ensure stability. Before beginning, it’s wise to:
- Consult the User Manual: Many Reformers have a detailed manual to guide you through the spring replacement process.
- Turn Off Any Power Sources: If your Reformer has electronic components, ensure they’re turned off and unplugged to prevent any electrical hazards during the replacement.
Remember, while replacing springs might seem straightforward, always proceed cautiously and prioritize safety throughout the process. If you feel you need more clarification, it is best to consult a professional or the manufacturer for guidance.
Sources:
https://pilatesreformersplus.com/blogs/news/everything-you-need-to-know-about-pilates-springs
https://www.merrithew.com/docs/default-source/distributors—customer-service/spring-replacement.pdf