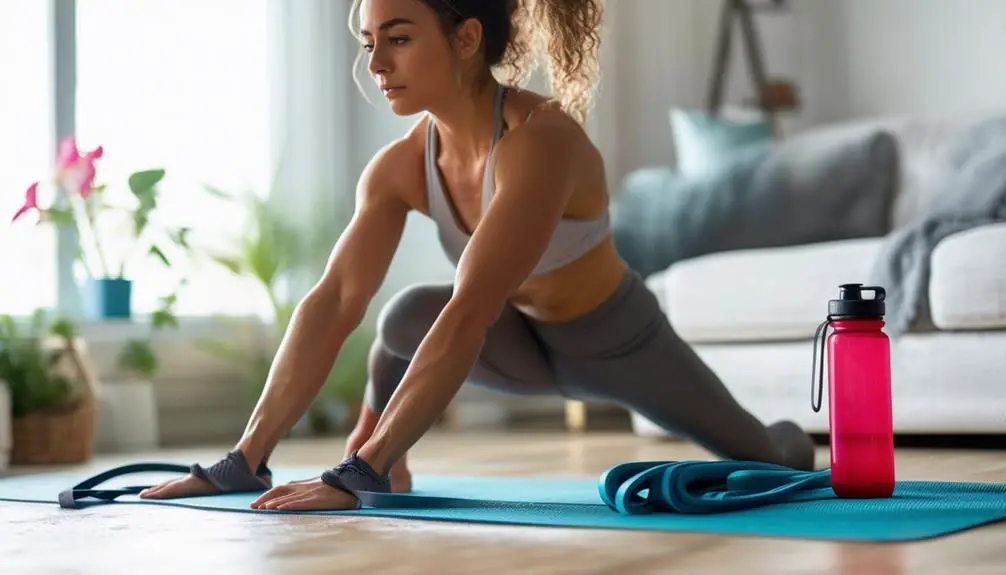
Pilates, renowned for its focus on core strength, flexibility, and mindful movement, pairs wonderfully with the dynamic resistance of bands to enhance workouts. Yet, while resistance bands can add a beneficial challenge to Pilates exercises, ensuring their safe and effective use is key to maximizing benefits and preventing injury.
Whether you’re a seasoned Pilates enthusiast or a beginner keen to spice up your routine, this article will guide you through the ins and outs of safely incorporating resistance bands into your Pilates workouts. From selecting the right band to mastering the nuances of each stretch and strength exercise, get ready to elevate your Pilates practice with confidence and control.
Choosing the Right Resistance Band: A Guide to Thickness and Length
When it comes to incorporating resistance bands into your Pilates workout, selecting the appropriate band is crucial for both the effectiveness of your exercises and your safety. Resistance bands come in various thicknesses and lengths, each offering a different level of resistance. Here’s a breakdown to help you choose the right one for your needs:
- Understanding Resistance Levels:
- Light Resistance: Ideal for beginners or those using bands for stretching and rehabilitation. These bands are usually thin and provide a gentle resistance.
- Medium Resistance: A step up from light resistance bands, these are suitable for those who have some experience with Pilates or resistance training and are looking to add a moderate challenge to their workouts.
- Heavy Resistance: Best for experienced individuals looking to challenge their strengths further. These thicker bands provide a significant amount of resistance and are typically used for building muscle and power.
- Length Matters:
- Short Bands: Often used for exercises that don’t require a large range of motion or for smaller body parts like the arms. They are also great for loop exercises that target the lower body.
- Long Bands: Versatile and can be used for various exercises. They are especially useful for full-body stretches and more complex Pilates movements.
- Material and Durability:
Bands can be made from latex, non-latex, rubber, or fabric. Latex bands are stretchy and smooth, while fabric bands are wider, more comfortable, and less likely to roll up during exercises.
- Safety Check:
Always check your resistance bands for signs of wear and tear before use. Small nicks or cuts can lead to the band snapping during a workout, potentially causing injury.
- Personal Needs:
Consider your personal goals, fitness level, and any existing physical conditions when choosing a band. For example, someone rehabilitating from an injury may require a different band than someone aiming to increase muscle definition.
There’s no one-size-fits-all when it comes to resistance bands for Pilates workouts. Assessing your fitness level, the intended exercise and the quality of the bands will help ensure that you select the right one for a safe and effective workout.
The Fundamentals of Form: Aligning Body and Band
Mastering the fundamentals of form is essential when integrating resistance bands into your Pilates workouts. Proper alignment of both your body and the band not only ensures the effectiveness of each exercise but also minimizes the risk of injury. Here’s what you need to focus on to maintain impeccable form:
Stance and Posture:
- Neutral Spine: Keep your spine in a neutral position to maintain its natural curvature, especially during exercises that require you to lie down.
- Pelvic Position: Be aware of your pelvic alignment. The pelvic tilt is a common Pilates cue that helps engage the core and stabilize the lower back.
- Shoulder Stability: Shoulders should be down and back, away from the ears, creating space and preventing tension.
Grip and Band Placement:
- Secure Grip: Ensure a firm grip on the band, but avoid over-gripping, which can lead to excess tension in the arms and shoulders.
- Band Alignment: The band should generally align with the direction of the movement, offering consistent resistance and avoiding any snapping or loss of control.
Breathing:
- Coordinate your breathing with your movements; exhale during the effort phase of the exercise to help engage the core and stabilize the torso.
Movement Control:
- Execute movements with control and precision rather than using momentum, which can reduce the effectiveness of the exercise and increase the risk of injury.
- Resistance Awareness: Be mindful of the resistance level throughout each exercise. The band should challenge your muscles while still allowing you to maintain control and proper form.
Engaging the Right Muscles:
- Focus on engaging the correct muscle groups for each exercise. The resistance band should enhance the engagement of target muscles, not cause you to compensate with the wrong ones.
Progress and Adaptation:
- Begin with basic movements to get accustomed to the added resistance, gradually progressing to more complex exercises as your strength and confidence improve.
- Modify exercises if needed. If you cannot maintain form with the band, it’s a signal to reduce the resistance or adjust the exercise.
Remember, the goal is not only to perform each Pilates exercise but to perform it with such precision and control that your body reaps the full benefits of the resistance band’s challenge. By paying close attention to your form and the alignment of the band, you’ll be able to execute your Pilates routine safely and effectively, leading to better results and a stronger, more balanced body.
Progressive Integration: Gradually Adding Bands to Your Pilates Routine
Integrating resistance bands into your Pilates practice should be a gradual process, allowing your body to adjust to the added challenge without compromising form or risking injury. Start by incorporating bands into exercises that you are already comfortable with and that require minimal adjustment. This might mean using a light resistance band during warm-up stretches or adding them to simpler, isolated movements before using them in more complex, compound exercises.
As you grow more accustomed to the feel of the bands, you can begin to increase both the resistance and the frequency with which they are used. It’s important to listen to your body during this progression. If you notice any discomfort beyond the expected muscle fatigue, it may be necessary to take a step back in resistance or in the complexity of the exercises you’re choosing.
Consistency is key when adding a new element to your workout routine. Give yourself time to adapt to the new resistance level by incorporating bands into a few exercises per session rather than all at once. This strategy helps to avoid overwhelming your muscles and your cognitive load, allowing you to maintain focus on your form and the precise movements of Pilates.
As you continue to progress, focus on the quality of movement over quantity. The resistance band should be a tool that enhances your workout, not one that detracts from the Pilates principles of control and precision. Gradual integration allows for the development of strength and the ability to maintain a mindful approach to your Pilates practice. With patience and gradual progression, resistance bands can become a valuable ally in your Pilates routine, offering a refreshing and invigorating challenge to your regular sessions.
Targeted Techniques: Resistance Band Exercises for Core and Limb Strengthening
Embracing the versatility of resistance bands in your Pilates routine opens up possibilities for deepening core strength and refining limb muscle definition. These stretchy accessories, when used correctly, can help you target specific areas with precision, transforming traditional Pilates moves into potent sculpting exercises that challenge stability and enhance muscle engagement. Here’s a closer look at how you can leverage the power of resistance bands for targeted core and limb strengthening:
- Core Activation: Utilize bands in exercises like the Pilates roll-up or wood chop to add extra resistance, requiring your abs to work harder during the flexion and extension phases, thereby boosting core strength and endurance.
- Enhanced Pilates Hundred: Intensify the classic Pilates Hundred by holding a resistance band in both hands, stretched above the chest, to engage the upper back and shoulders. At the same time, your core works to maintain the rhythmic pumping action.
- Lower Body Challenge: Loop a band around your legs during side-lying leg lifts or standing leg extensions to add resistance that activates the glutes, thighs, and hamstrings, demanding more from every lift, pulse, or circle.
- Upper Body Sculpting: For arm toning, use bands during exercises like bicep curls, tricep extensions, or overhead presses to build arm strength and definition, all while the core is engaged to support your posture.
- Dynamic Stretching: Implement bands to assist and resist during Pilates stretches, such as the mermaid stretch or a seated leg stretch, to deepen the flexibility work while simultaneously engaging the stretched muscle groups.
By methodically integrating resistance bands into these exercises, you not only challenge your muscles but also introduce a new layer of intensity to your Pilates workout, encouraging your body to adapt, strengthen, and grow more resilient with each session.
Sources:
https://powerbands.com.au/blogs/news/add-resistance-bands-to-full-body-pilates-workouts
https://complete-pilates.co.uk/benefits-of-resistance-bands/
https://www.physioroom.com/info/exercising-with-resistance-bands/


